

Prerequisites
You need to be a Hacktron organization admin to manage the Jira integration. You also need permission to authorize apps in the Jira workspace you want Hacktron to use.Configure Jira
1
Open Integrations page
In Hacktron, go to Integrations and find Jira under Project
Management Apps.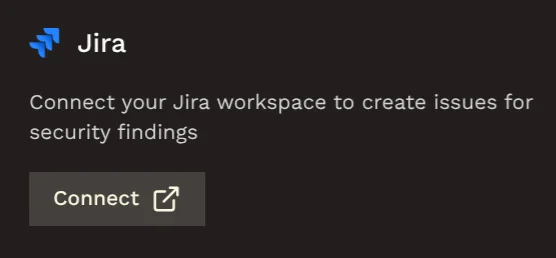
2
Start the OAuth connection
Click Connect. Your browser will redirect to Atlassian.
3
Sign in to Atlassian (if required)
If Atlassian prompts you to sign in, enter your Atlassian login credentials as you normally would.
4
Authorize Hacktron
Hacktron will request access to view and create Jira tickets.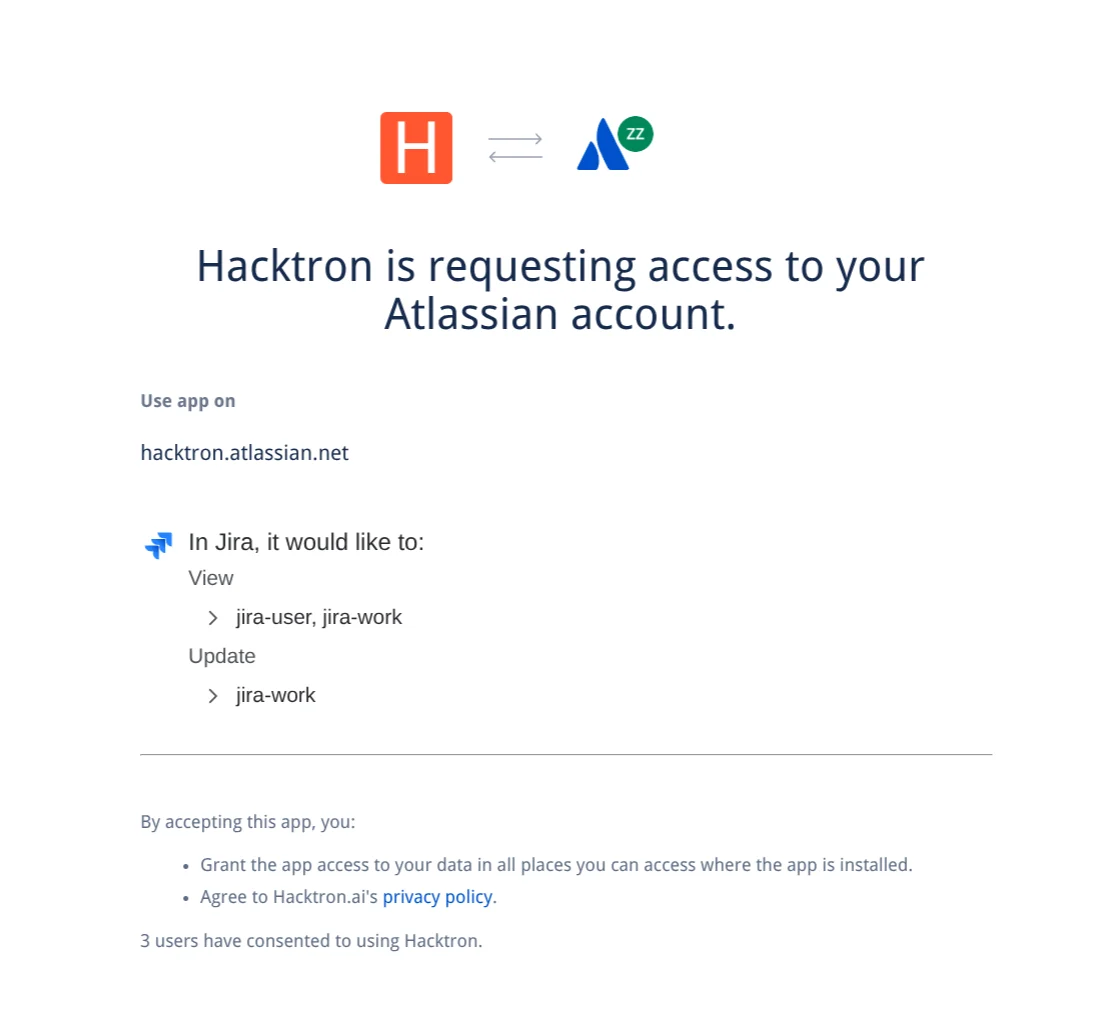
Hacktron requests the following permissions:
- Read access to
jira-user - Read and write access to
jira-work
5
Return to Hacktron
After authorization, Hacktron redirects you back to Integrations and
opens the Jira configuration panel.
6
Choose auto-create behavior
Turn on Automatically create tickets to have Hacktron create Jira tickets for every security finding.
7
Choose ticket defaults
Select the default Jira project and issue type. Hacktron will use these settings to create Jira tickets for security findings.You can also optionally apply a default label (e.g. “security”) and a default assignee from your team.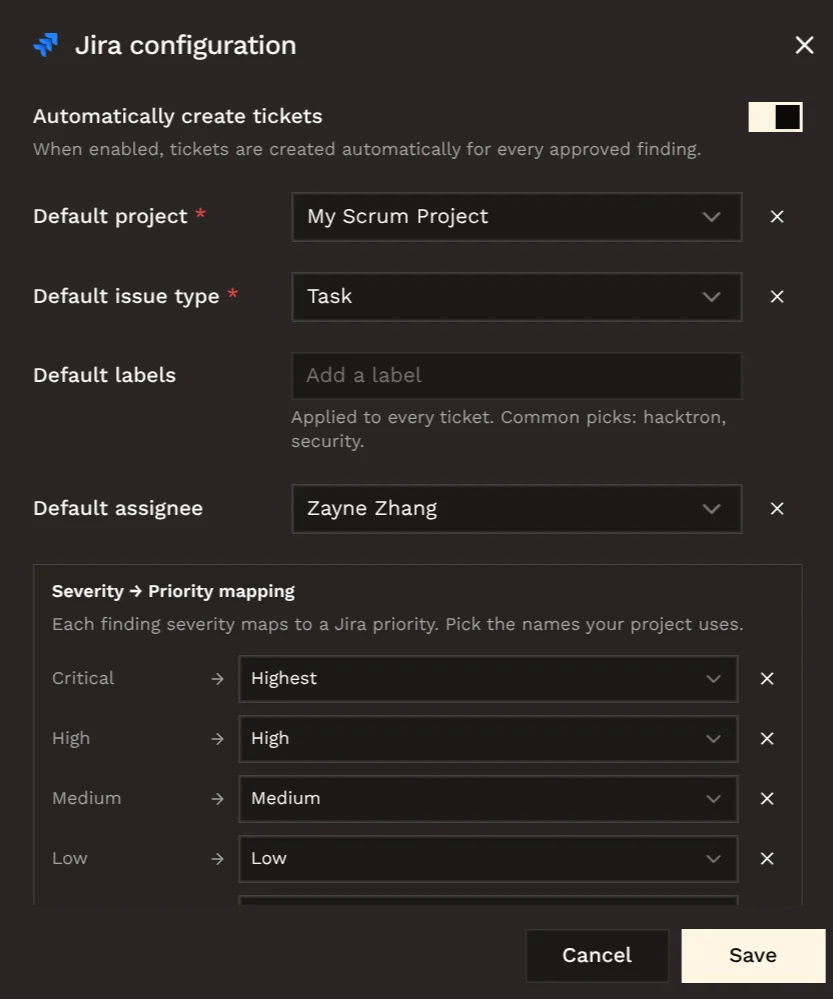
This is required if you enable auto-create. You can change these settings later.
8
Save settings
Click Save to apply the Jira configuration.
Using Jira tickets
After Jira is connected, open an approved finding and choose Create on Jira to create a Jira issue manually. If the finding already has a Jira issue, Hacktron shows View on Jira instead.Common checks
- If projects or issue types are missing, confirm that the Atlassian account used for OAuth can access them.
- If auto-create cannot be saved, make sure both a default project and default issue type are selected.
- If a ticket already exists for a finding, use View on Jira instead of creating another ticket.